In this article, we're going to learn:
- What can be shared, and from where?
- How to make individual files shareable throughout a presentation
- How to set up slide-specific sharing
- How to remove all shareable files
What can be shared, and from where?
Users can share two types of content in the Showcase Workshop app:
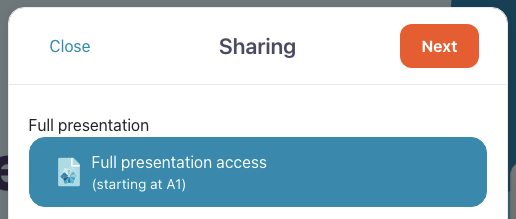
- The full presentation: Users can send a read-only version of your entire presentation to a recipient even if they don't have the Showcase Workshop app.
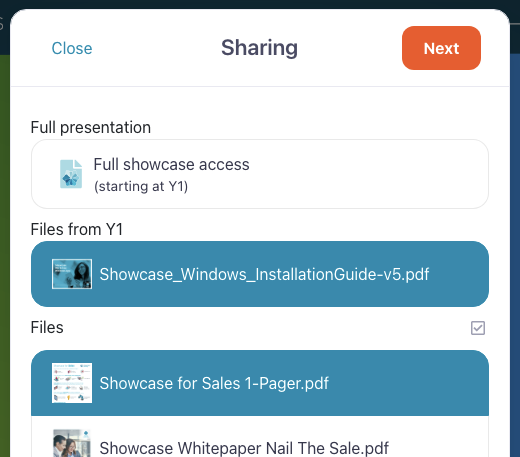
- Additional resources: Users can send additional content (like spec sheet or brochure PDFs, product videos, or images) to a recipient directly from the app. You can set content to be 'shareable' from just one specific slide or all slides in your presentation.
Admin and Editor users can choose to make only the full presentation shareable; or just a list of individual files; or, have a combination that users can choose from when sharing to a prospect.
Users can share via email, link or VIP Pass and then track their results with Sharing History.
When adding individual files to be shared, there's another consideration — whether you want the content to be 'shareable from all slides' — i.e. anywhere within the presentation — or 'shareable from a single slide'.
Shareable from all slides
If you've got a file that users might want to share with prospective customers or clients regularly, you can make it shareable from all slides, so they don't have to navigate to a specific slide (and mess up the rhythm of their sales pitch) to find it.
This will keep your prospects engaged and impress them with how smooth and professional your sales presentations are!
Shareable from a single slide
This is great if you have a lot of content, because it helps streamline your shareable content — your users won't have a long list of files to hunt through to find the one they need. This will keep their presentations on track and impress prospects with their professionalism!
How to make individual files shareable throughout a presentation
These features are for Admin and Editor users only. Viewers may want to check out our article about how to share content instead.
Note: This content doesn't have to be linked to a hotspot within the presentation — you can upload it separately, as an additional resource used only for sharing during presentations.
If you're not bothered about slide-specific sharing, and you want a list of files that your users can share from all slides in the presentation, you can manage your sharing list straight from the Home tab, without having to go into the Editor.
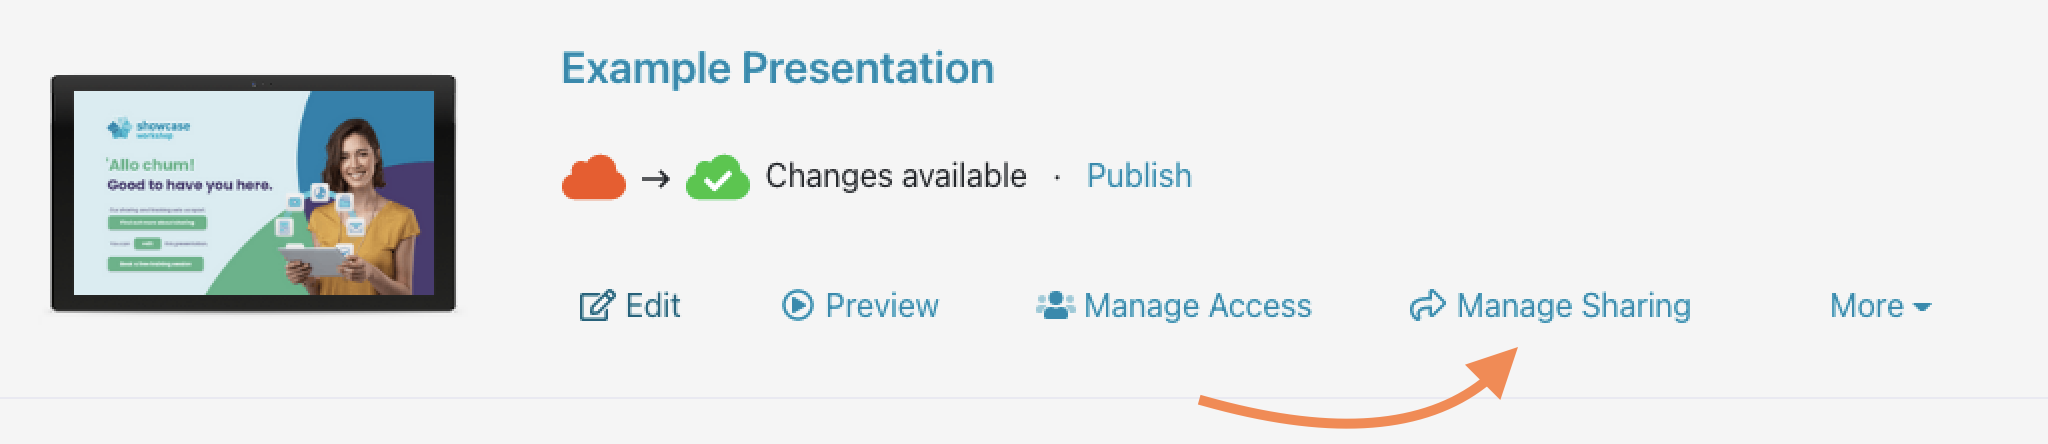
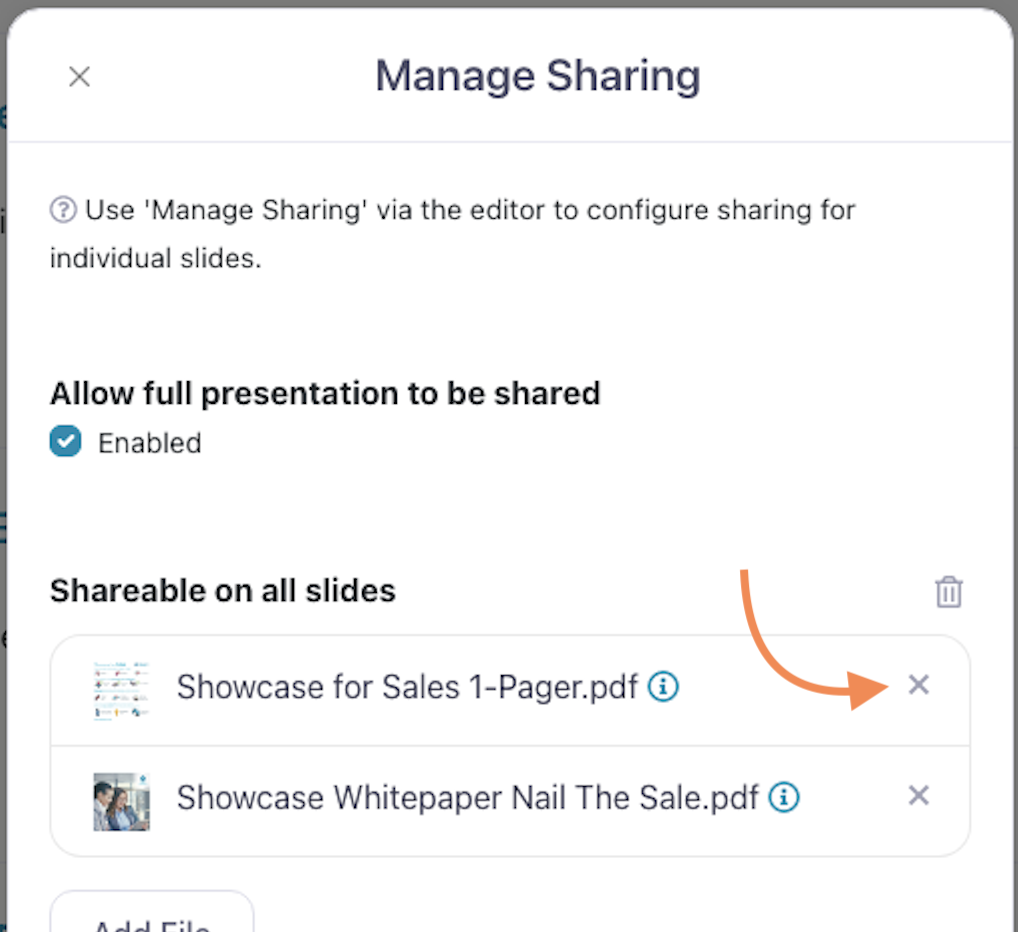
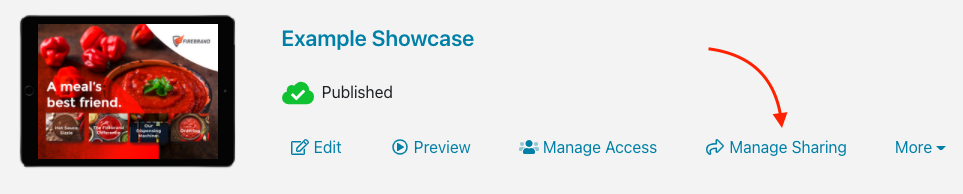
- Click "Manage Sharing" beneath the presentation title:
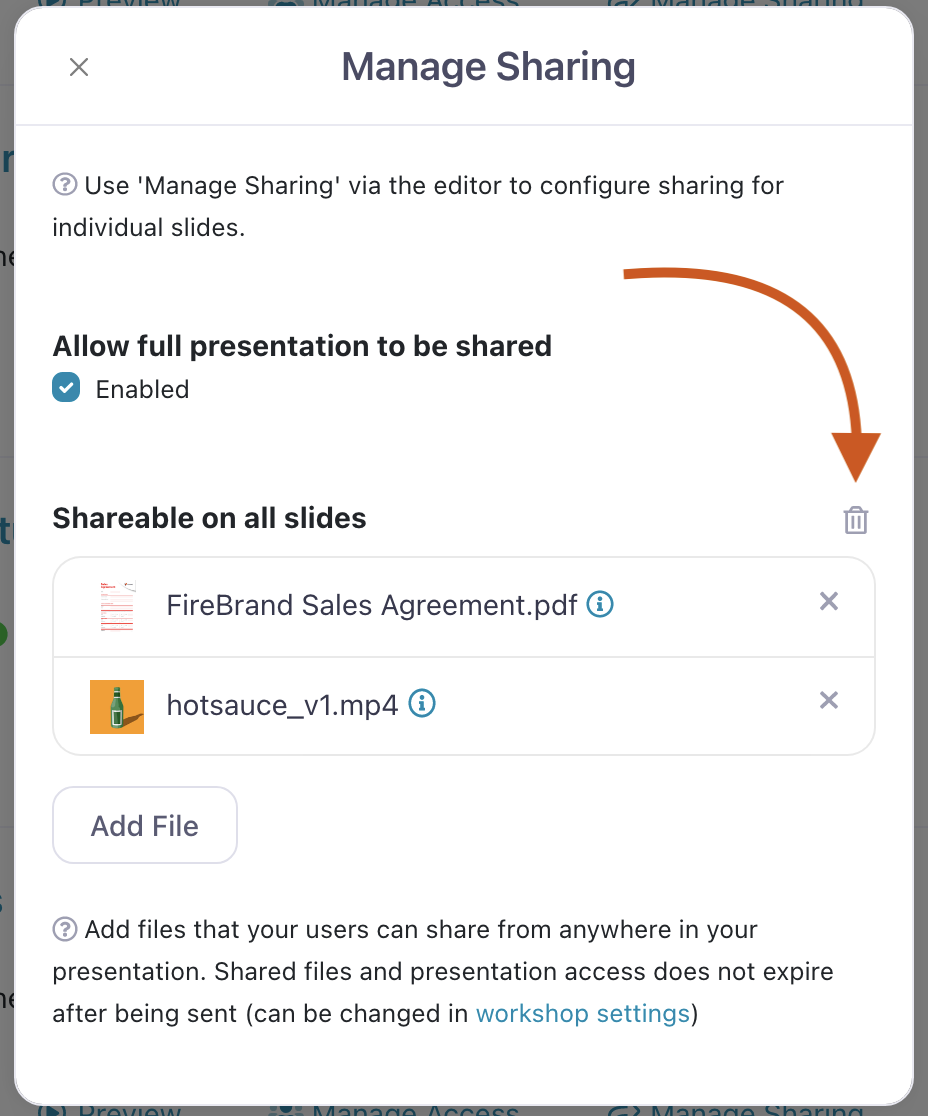
- Click 'Add file' to add in files that you want to be shareable everywhere:
Remove files from the sharing list by clicking the 'x'. - Remember that any changes you make here will need to be published after you're done.

How to set up slide-specific sharing
- Open the Editor and find the slide you want to share the content from.
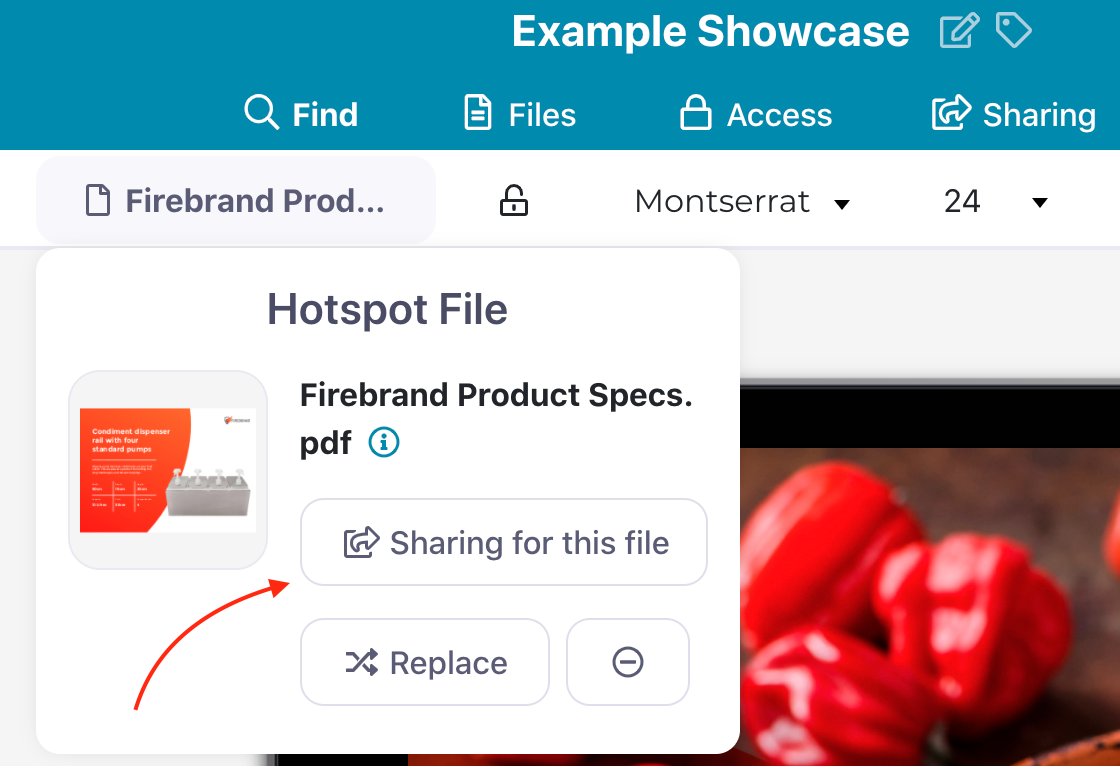
- If the file you want shareable is already linked from the slide, click the relevant hotspot and select the file icon that appears above it. This will open the hotspot file options in the toolbar above your presentation. Alternatively, click the name of the file in the top toolbar.
- Click 'Sharing for this file'.
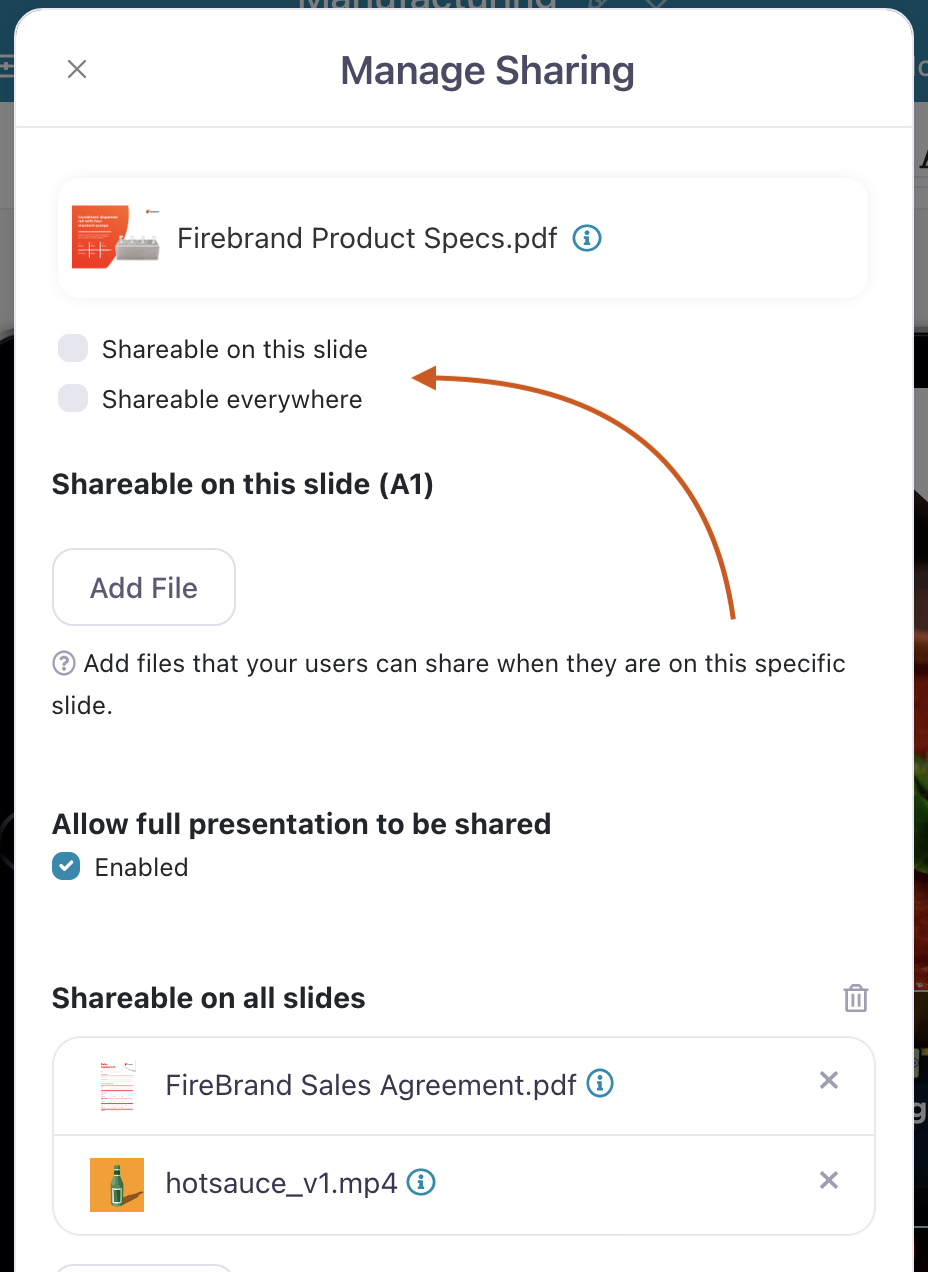
- Check the box next to 'Shareable on this slide' to allow users to share the file from that slide alone, or 'Shareable everywhere' to allow users to share it from any slide in the presentation.
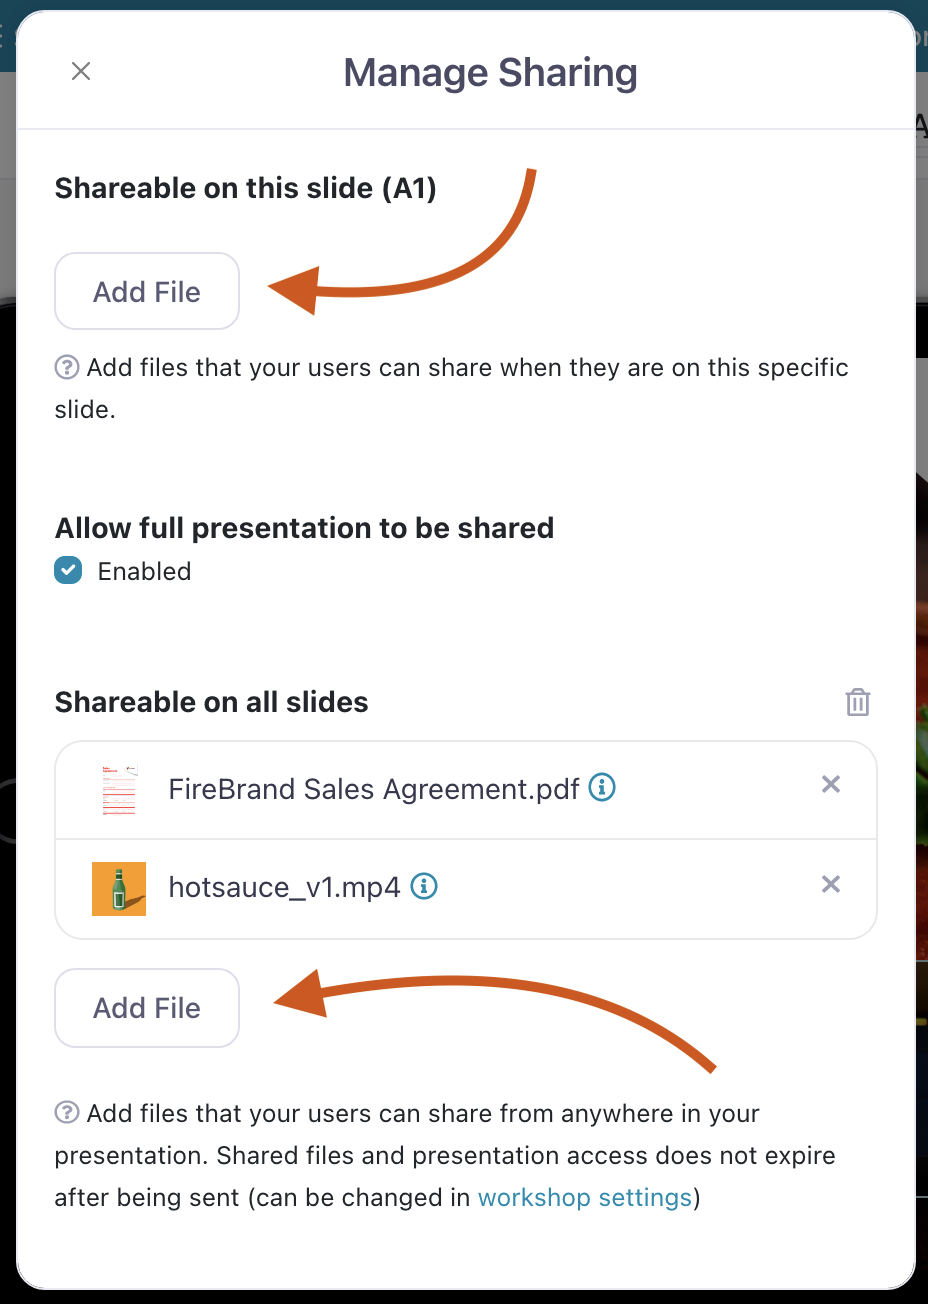
- If the file you want shareable is not already linked from this slide, click 'Sharing' from the top blue toolbar instead; then add your files there. You can still add files to be shareable from all slides in this dialog too.
- Publish your changes and you're good to go!

How to remove all shareable files
Note: Removing files from your Shareable Content list will not remove them from the actual presentation, if you've linked them there as well. It just means users won't be able to share them when viewing the presentation.
Another note: if you just want to revoke access to shared files for someone you've shared them with — but still keep the files shareable in general — check out this article instead.
To remove content shareable on all slides:
- Open the web app and find the presentation you want to edit. Click 'Manage Sharing' under the title.
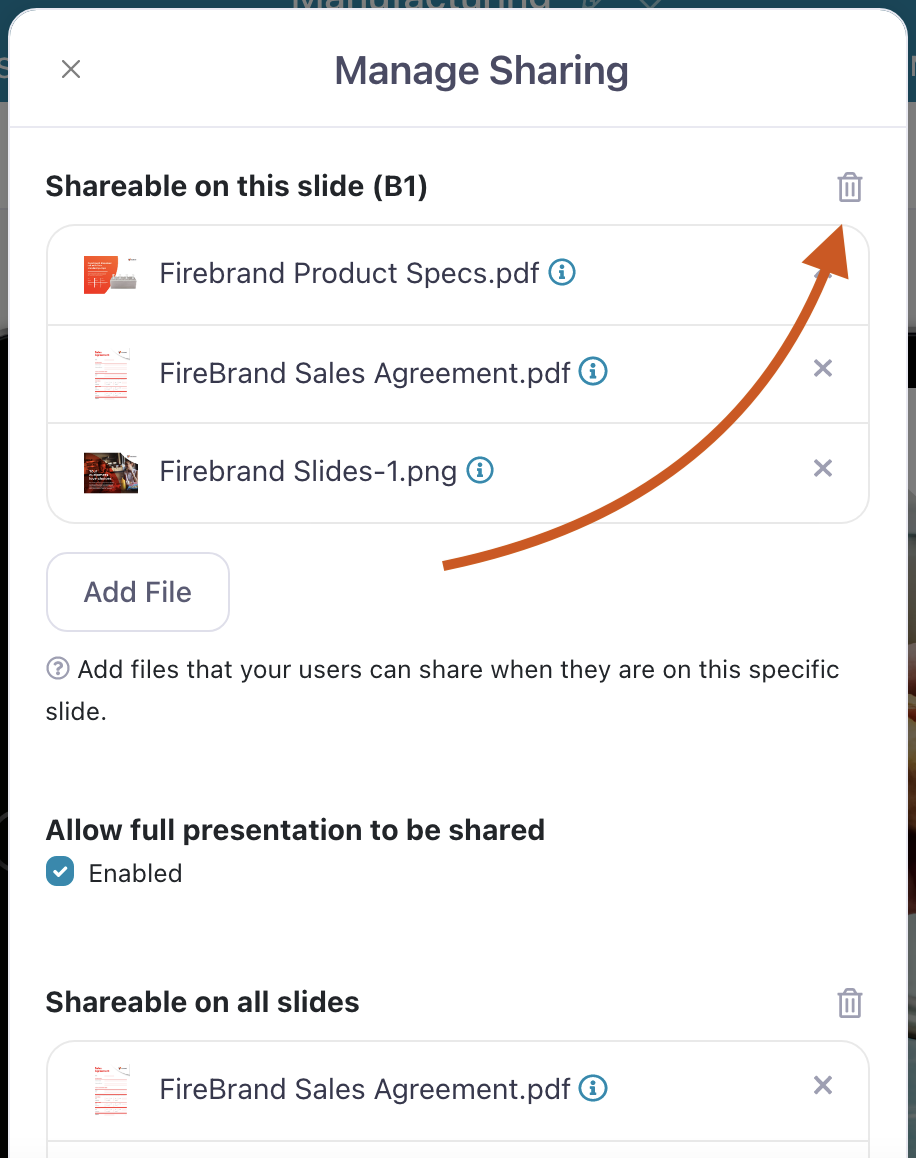
- This will open the Manage Sharing dialog box. You'll see a list of all the files in that presentation that are currently marked as 'Shareable on all slides'. To remove them all, click the trashcan icon next to 'Shareable on all slides'.
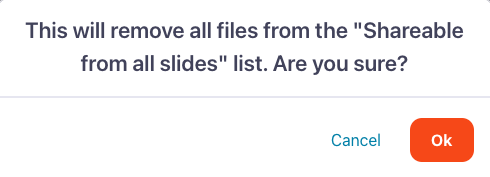
- Don't worry about accidentally deleting these files, because you'll have to confirm the action first anyway. When you're ready to delete, click 'Ok' on the pop-up box.
To remove content shareable from a specific slide:
- If you have content that is only shareable from specific slides, you'll have to remove it from each slide separately. To start, open the presentation in the Editor and click 'Sharing' in the toolbar at the top of the page.
- This will open the Manage Sharing dialog box for the specific slide you're on. Click the trashcan icon next to 'Shareable on this slide' to remove all files from this list.
- You'll be prompted to confirm the action with a pop-up box. Hit 'Ok' to continue.
- Repeat these steps for any other slides with shareable content in your presentation.