What's that cool little sparkle icon in the Editor? That, my friend, is the portal to Effects, a nifty feature that lets you add special effects to your text and hotspots — including drop shadows and transparency.
Note that it's best to have some kind of text or image inside your selected hotspot(s) before applying these effects — you won't see much happening otherwise!
How to apply effects to your hotspots
Sign in to the web platform and open your presentation in the Editor.
Click on a hotspot to select it. You can also select multiple hotspots by dragging out a selection area over the hotspots, or holding down the Shift key as you click them.
Click the "Effects" option from the top toolbar.
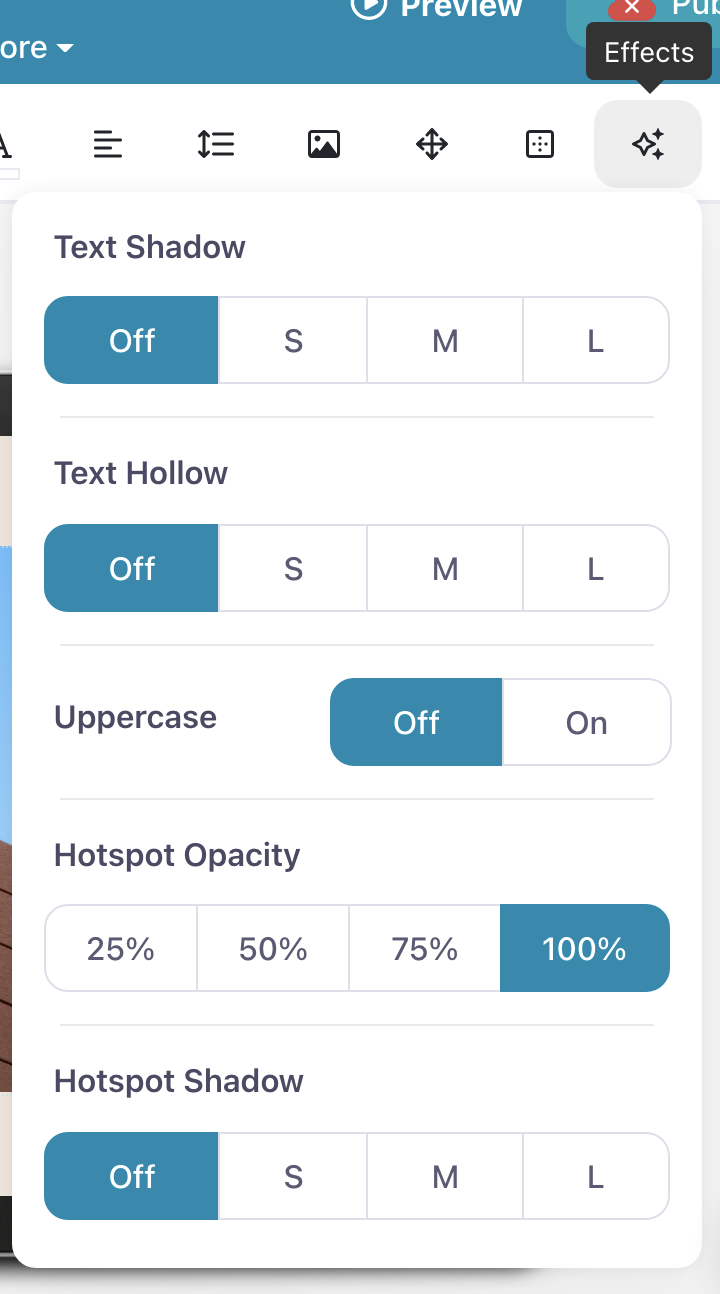
The effects work as follows.
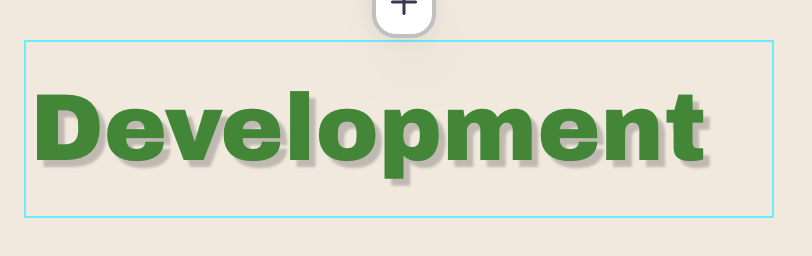
a. Text Shadow applies a shadow of the selected size to your text. This works best with thicker, bolder text. Here's 'Medium' on a 72-pt font:
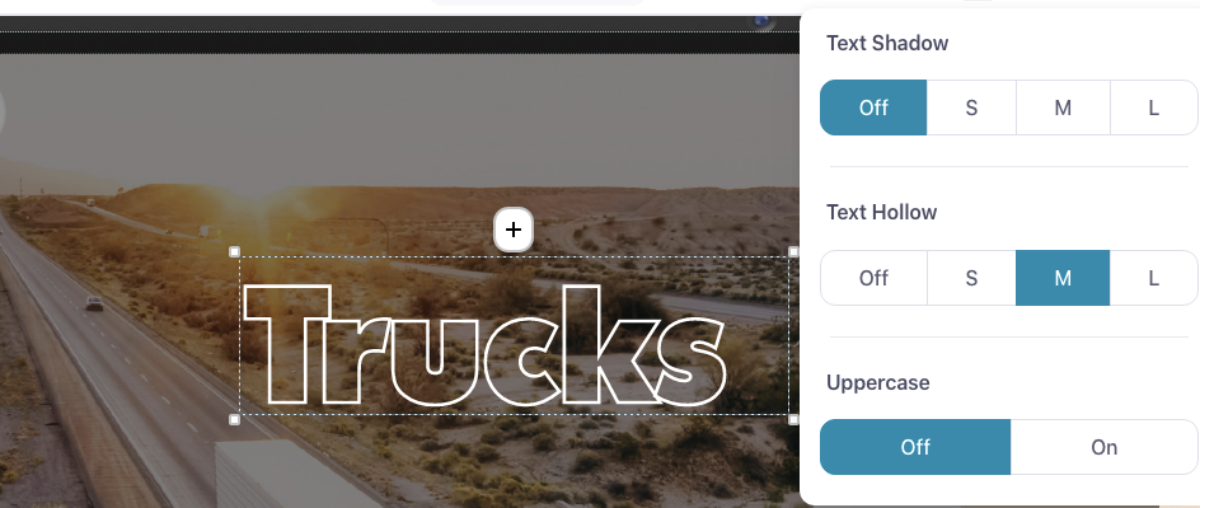
b. Text Hollow applies a 'hollowed-out' effect to text. It also looks good on a thick font, especially over an image background.
c. Uppercase, as you'd expect, transforms all the text in the hotspot into UPPERCASE.
d. Opacity makes the background of the hotspot (i.e. any images, borders, or fill color; not the text) semi-transparent to the extent marked.
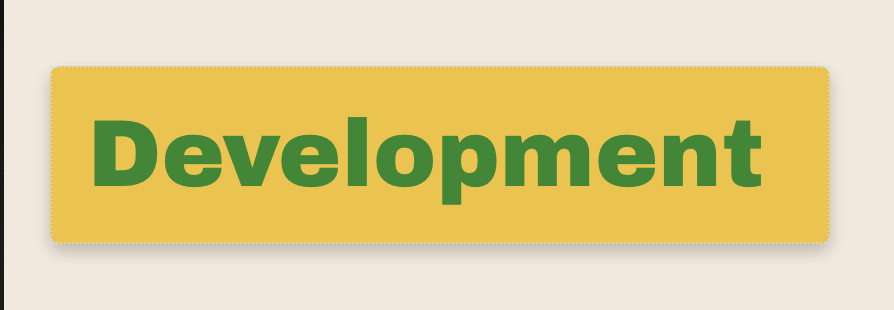
e. Hotspot Shadow adds a shadow to the whole hotspot shape. This respects any rounding you've applied to the corners. Here's an example of a 'Medium' shadow:
We encourage you to have a play around with these effects — and remember you can always Undo from the top left of the Editor!