If you find yourself presenting the same set of slides at sales meetings — and ignoring the rest — you can tag those slides and collate them into a custom slideshow to make life a bit easier.
This is great for Viewer users, who are not able to edit presentations like Admin and Editor users. Viewers can only do this with existing slides, so they'll still always be on-brand and updated.
A few notes before we begin:
- You'll only be able to use tags if they've been switched on in your workshop! If you can't see the options described below, check with one of your Admin users to see if it's available to you. (If your Admin isn't sure how to do that, you can send them these instructions!)
- You can only create a custom slideshow using slides from one presentation at a time. So, if you have access to more than one presentation, you won't be able to pull slides from several different places to create a new slideshow.
-
Tags are individual to each user, so you won't be able to tell your colleague in a separate office to load up your tag, as they’ll have their own tags going on.
-
You can apply more than one tag to a slide. Each tag becomes its own custom slideshow, so you can reorder the slides any way you please without impacting your other tags!
Here's how to collate a slideshow in Showcase Workshop:
- Open the presentation you want to create a slideshow from.
- Navigate to the slide that you want to be first.
- Click or tap the hamburger button in the bottom left corner (it's the one that looks like three horizontal lines)
- In the side panel on the left, click 'Tags'.
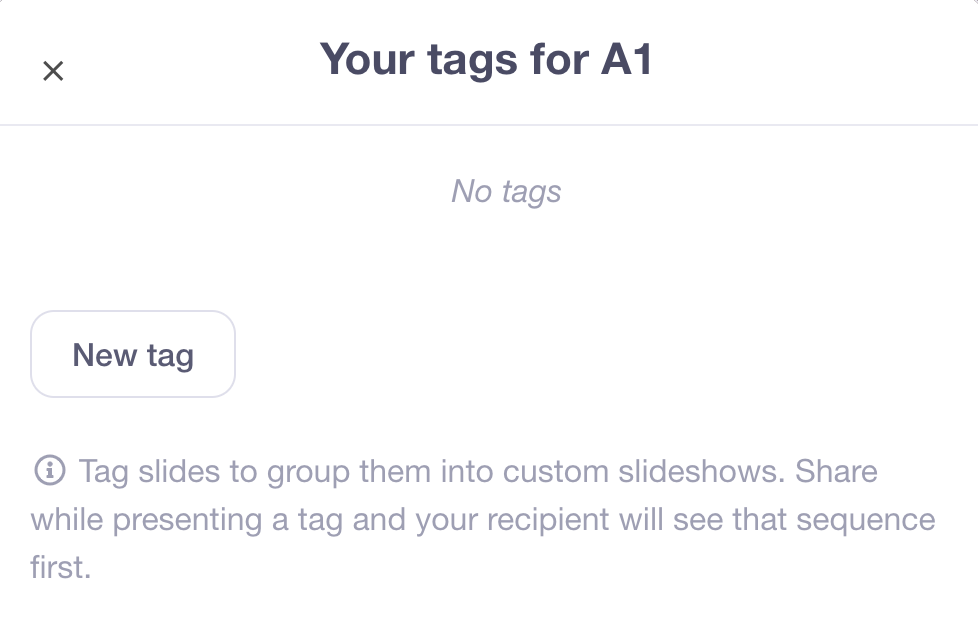
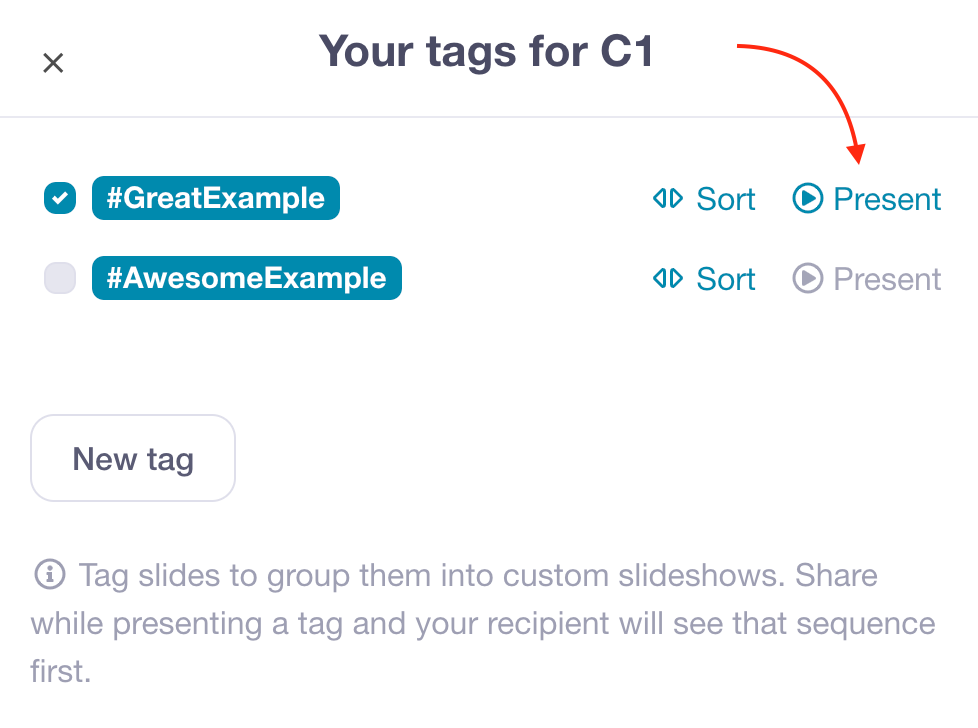
- This will open the Tags dialog box. Click 'New tag' to create a tag.
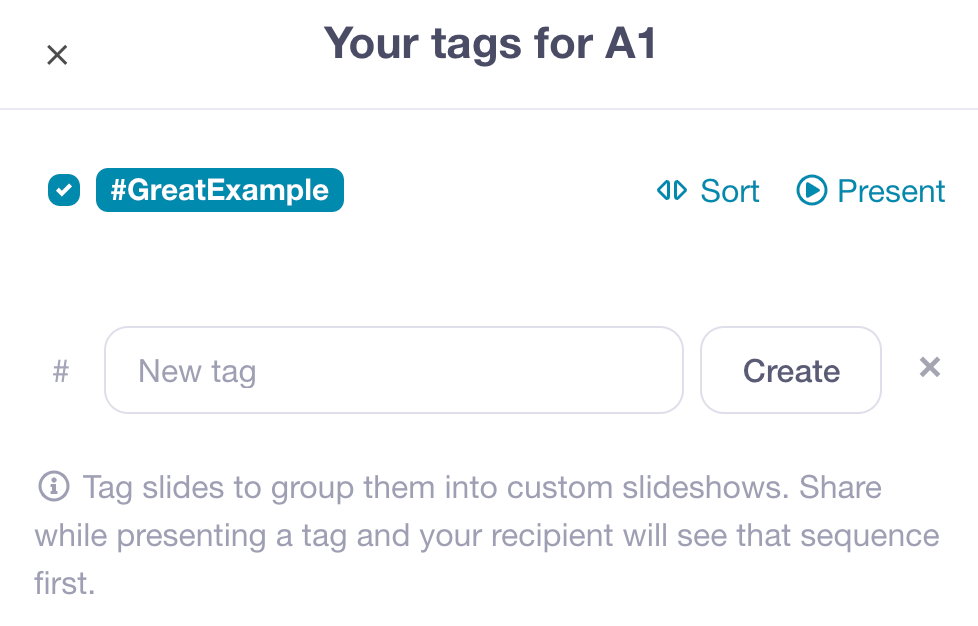
- Enter a name for your tag in the text box and click 'Create'. Your new tag will appear at the top of the dialog.
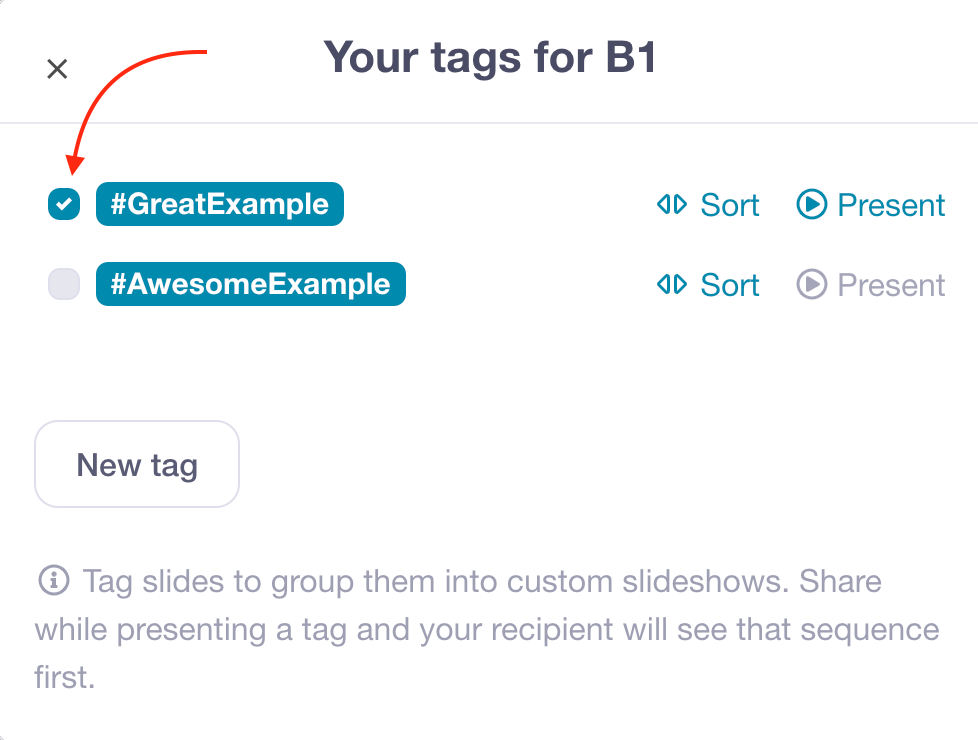
- Repeat this process for the other slides you want to include in your slideshow. Your existing tag(s) will appear in a list at the top of the Tags dialog. To apply an existing tag to a slide, tick the checkbox next to the tag name.
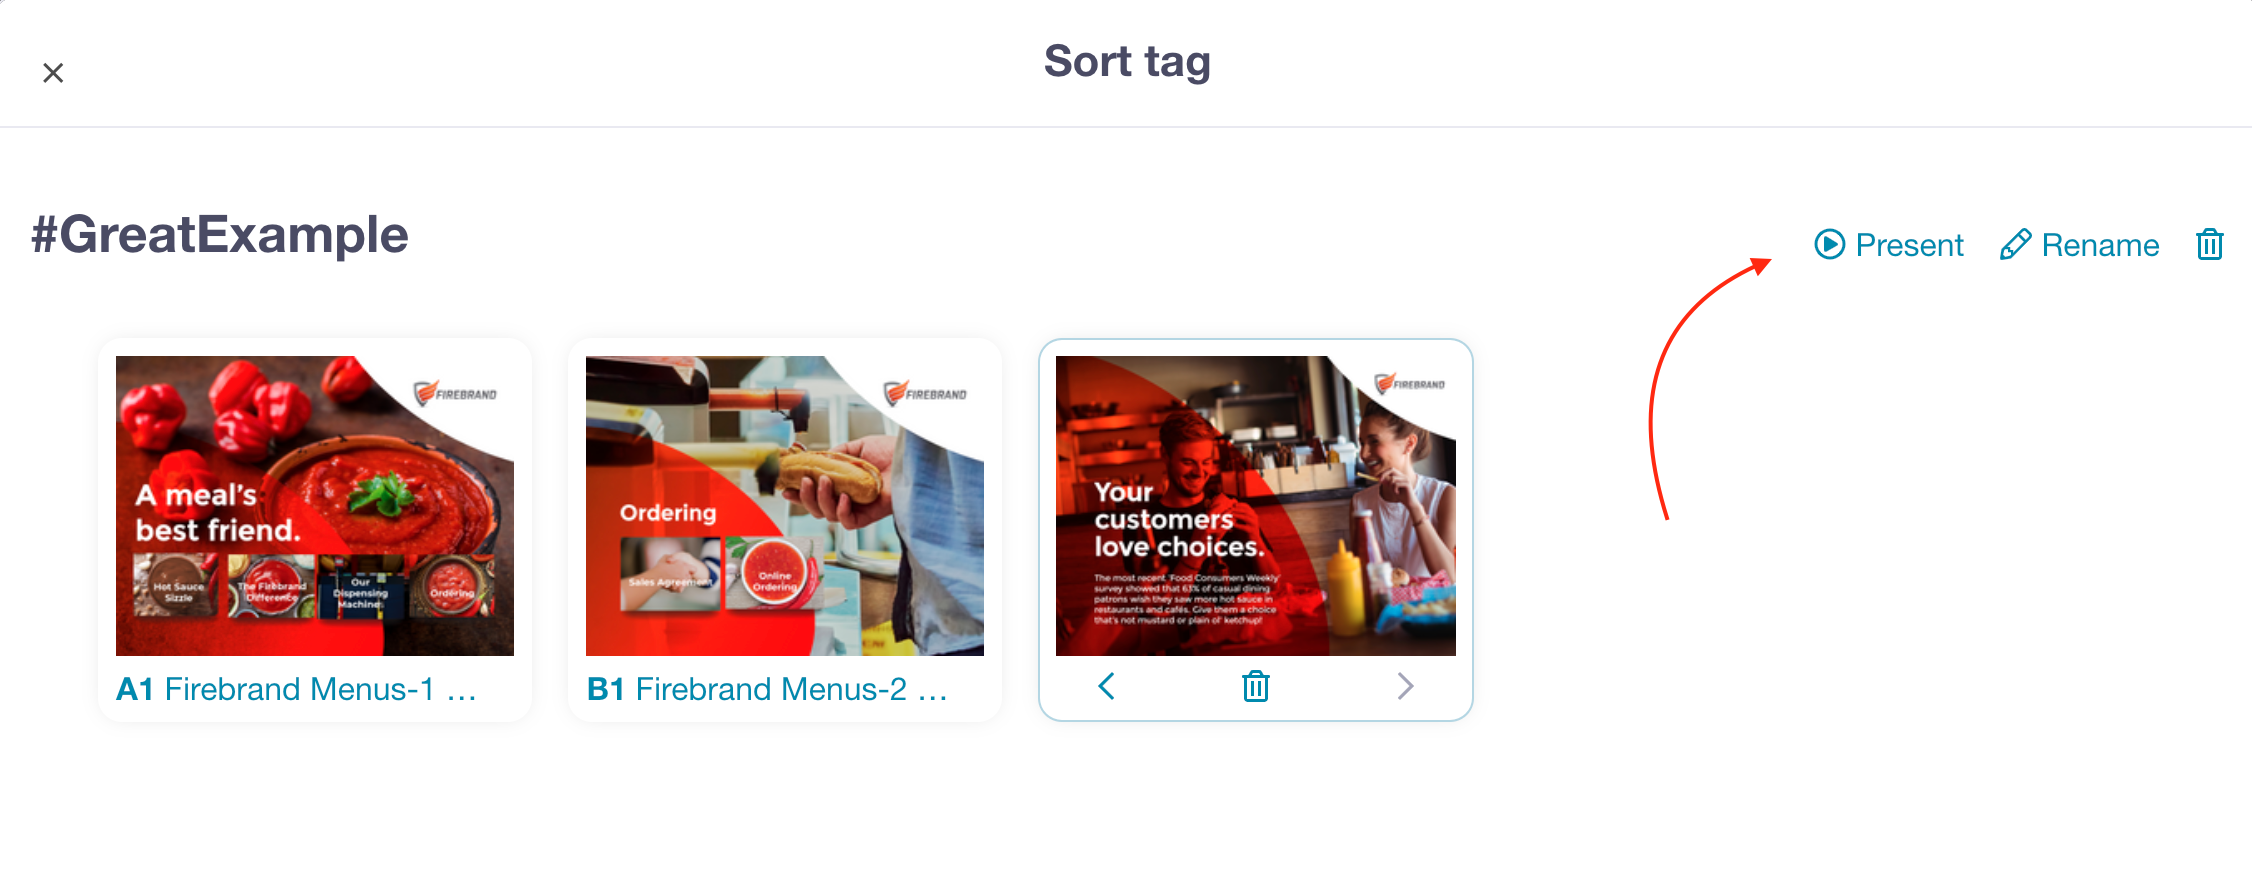
- If you want to reorder or remove slides from a tag, hit 'Sort' next to the tag name. You can reorder the slides by dragging them, or you can click the thumbnail and use the arrows to move it to the left or right. To remove a slide from that sequence entirely, click the thumbnail and hit the trashcan icon that appears underneath it.
- To edit or delete the tag itself, use the 'Rename' or trashcan icons in the top right.
Note: Deleting slides or tags from the 'Sort tag' page will not delete them from the actual presentation; it will simply remove the association between the tag and the slides. - When you're ready to present your custom slideshow, click 'Present'. You can do this from the 'Sort tag' screen or from the main 'Tags' screen.
Top tip: You can do this from any slide in the presentation — even if it hasn't been tagged!
Share Your Custom Slideshow
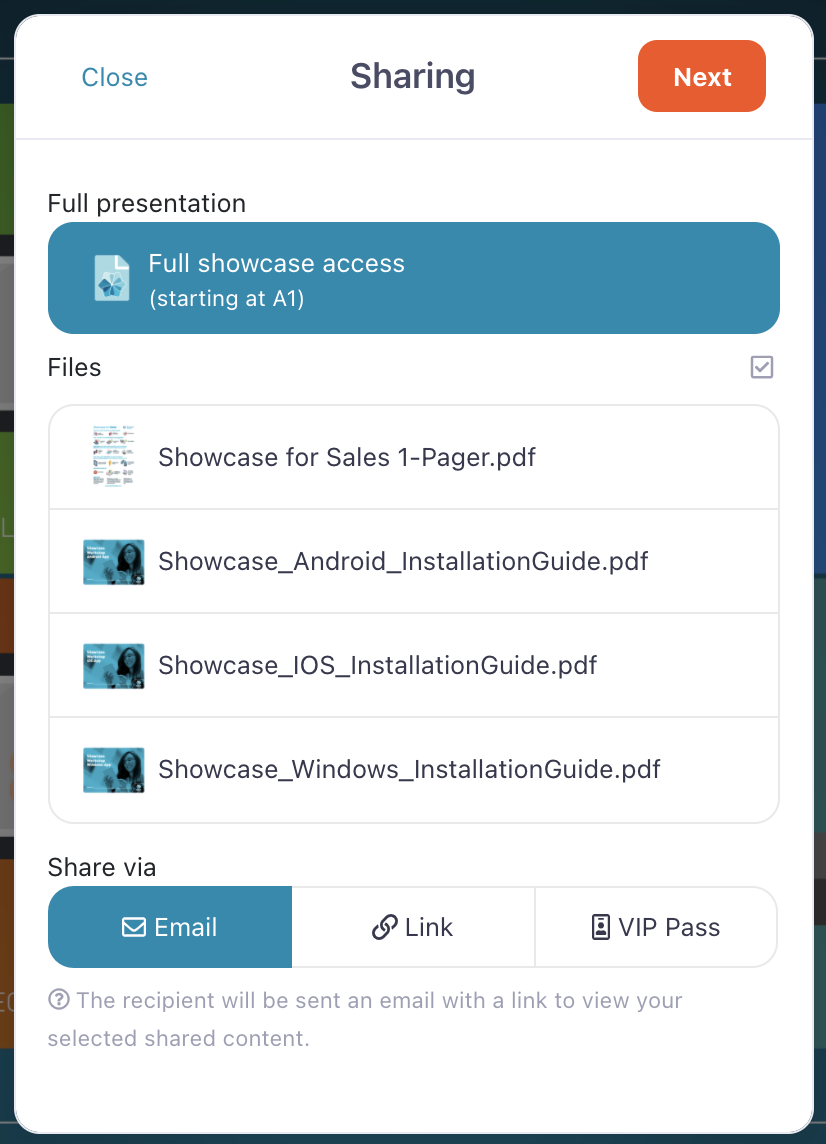
Here’s the really cool part: If you share the full presentation with a prospect while presenting your custom slideshow, your prospect will see your carefully-curated sequence of slides first.
It’s kind of like sending someone a brochure that you’ve opened to a certain page — and stuck post-it notes on a couple of other pages for good measure. The recipient can still navigate around the rest of the presentation, but they’ll see the most relevant stuff first.
Note: You'll only be able to do this if the full presentation is shareable; if it's not, try asking your Admin user(s) nicely to change the settings.

