We've got hotspot borders to suit any vibe. You can set a delightfully subtle border on any hotspot — it doesn’t even need a background image or fill color! Or you can get bolder with a thick, bright border to really stand out from the crowd.
Here's how to set a hotspot border:
Sign in to the web platform and open your presentation in the Editor.
Click on a hotspot to select it. You can also select multiple hotspots by dragging out a selection area over the hotspots, or holding down the Shift key as you click them.
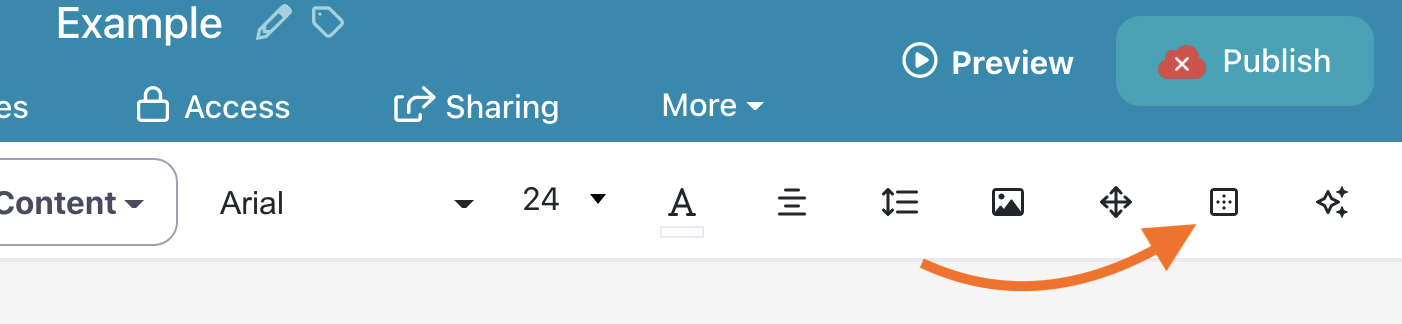
Click the Borders icon (the square with dotted lines inside it) in the toolbar above your presentation
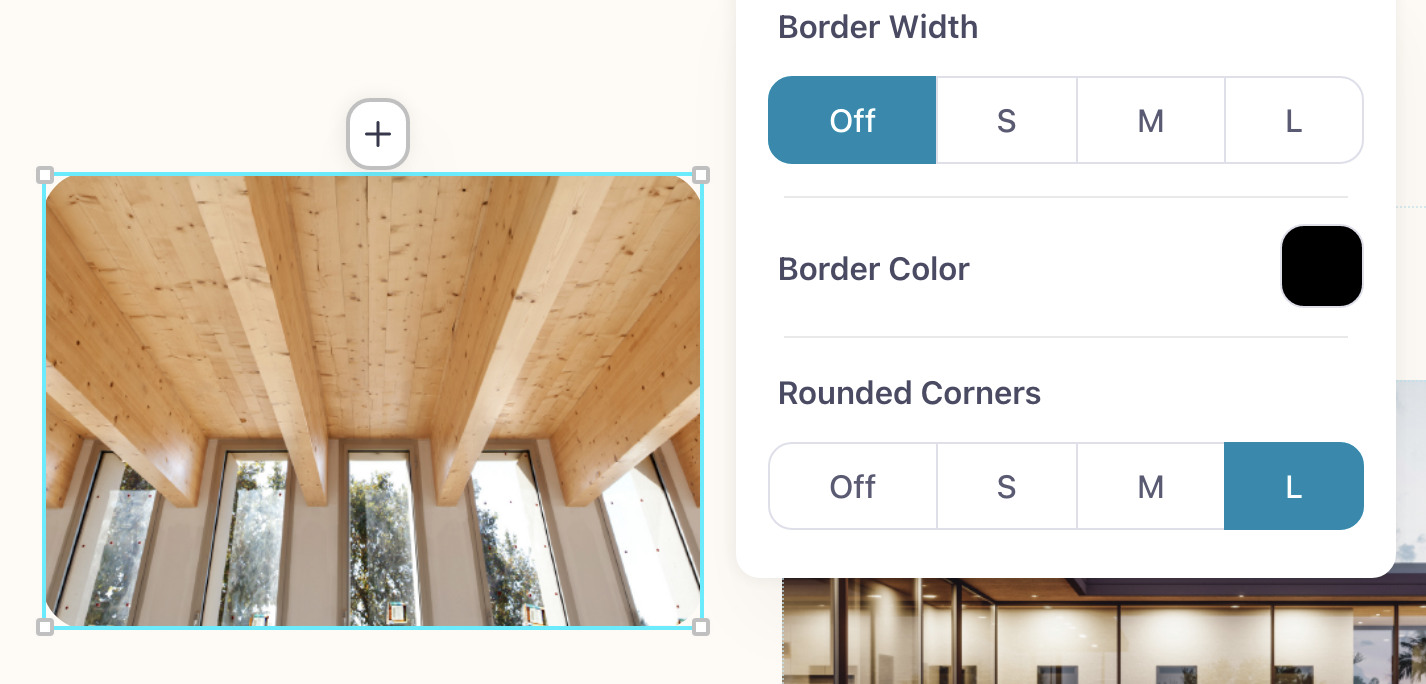
Use the options in the drop-down menu to control how you want the hotspot border to look.
Border Width controls how thick the border is on all sides of the hotspot.
Border Color refers to — you guessed it — the color of the border (not the hotspot).
Rounded Corners lets you add rounded corners to your hotspot. You can make the rounding subtle by selecting 'S' for Small or more obvious by choosing 'L' for Large.

Note: If you don't want to add a border to your hotspot, but still want to make the corners round, you can leave the "Border Width" at its default 'Off' setting, and choose an amount of rounding instead.