Hotspots are — by default — transparent, but you can style and customize them in a bunch of different ways to add interest, emphasis, and consistent branding to your presentations.
One way of customizing your hotspot is to add an image. This is also how you can insert a picture that appears "inset" on your slide.
Note: You can't add an image when you have multiple hotspots selected.
If you've used one of our handy-dandy preset templates, you may find that there are images in some hotspots already, and you need to replace them. The below steps cover how to do that too.
Here's how to add an image to your hotspot (or replace an image that's already there):
Sign in to the web platform and open your presentation in the editor.
Make a new hotspot — either one that links to a file, or a "blank". Or, you can click on a pre-existing hotspot to select it.
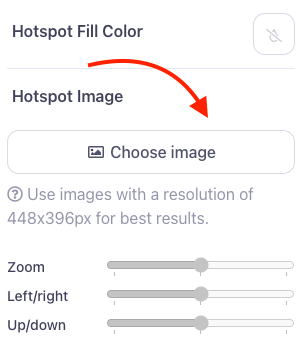
With the hotspot selected, click the picture frame icon in the toolbar above your presentation.

Select 'Choose image' from the drop-down box, and upload the image you want to use.If there's already an image set in the hotspot, you'll see the option to "Replace" that image here.
Clicking "Replace" allows you to select a new image to replace the one that was already there.
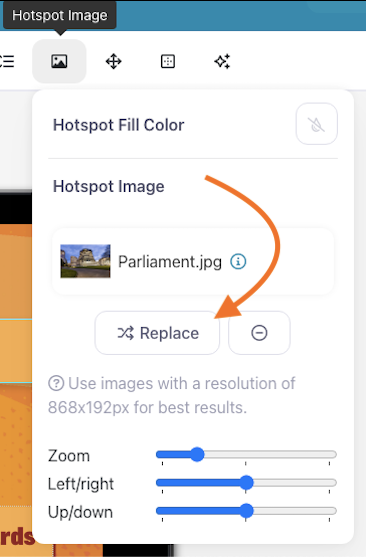
You can then play around with the zoom and alignment options in the drop-down box to get the image looking exactly how you want in your hotspot.
Note: You might have noticed there's also the option to set a "Fill color" in this dialog. That allows you to pick a color that will fill the whole hotspot. Any image you choose will appear on top of the fill color, if there's one set.