A hotspot is essentially a link. It's a tappable or clickable area somewhere on your slide.
Hotspots are what users click or tap on to get to another part of your presentation — whether that be a file, a video, or another slide.
Hotspots are the basis for all navigation in your presentation. They let you add new layers, link to content, and provide access to your files.
If you don't link a hotspot to content (add content to a hotspot), it won't be clickable — but it can still be used to display an image and/or text as a design element on your slide.
This article will cover:
- How to create a hotspot
- How to move and resize a hotspot
- Adding content to hotspots
- New image slide(s), Videos or Documents
- New Blank Slide
- Existing Slides
- URLs
- Bonus - URLs that aren't websites
- How to delete hotspots
Styling a hotspot is covered separately. Remember that with any changes you make — you will need to Publish them in order for your users to see them! Let's go!
To create a hotspot:
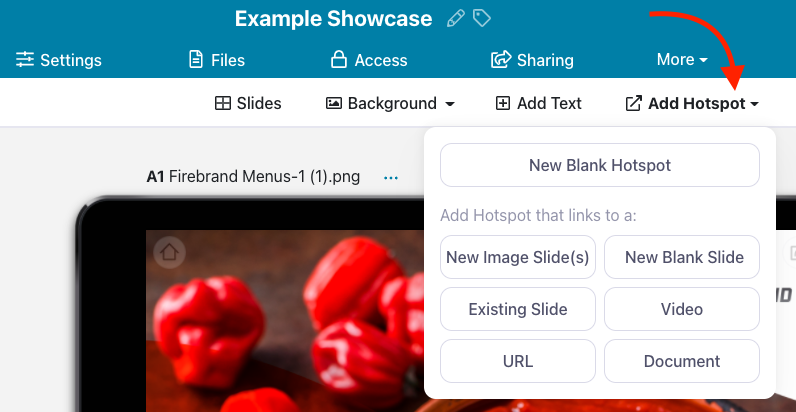
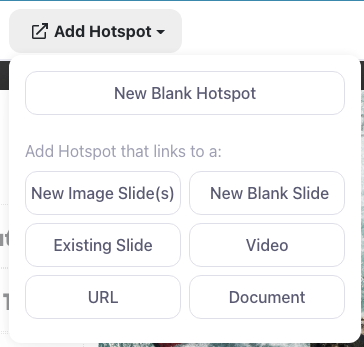
- Open your presentation in the Editor and click 'Add Hotspot'.
You can choose to add content at this point or leave the hotspot 'blank' without content linked. (There's more about content types in the next section.) - A transparent box will be created on the slide.
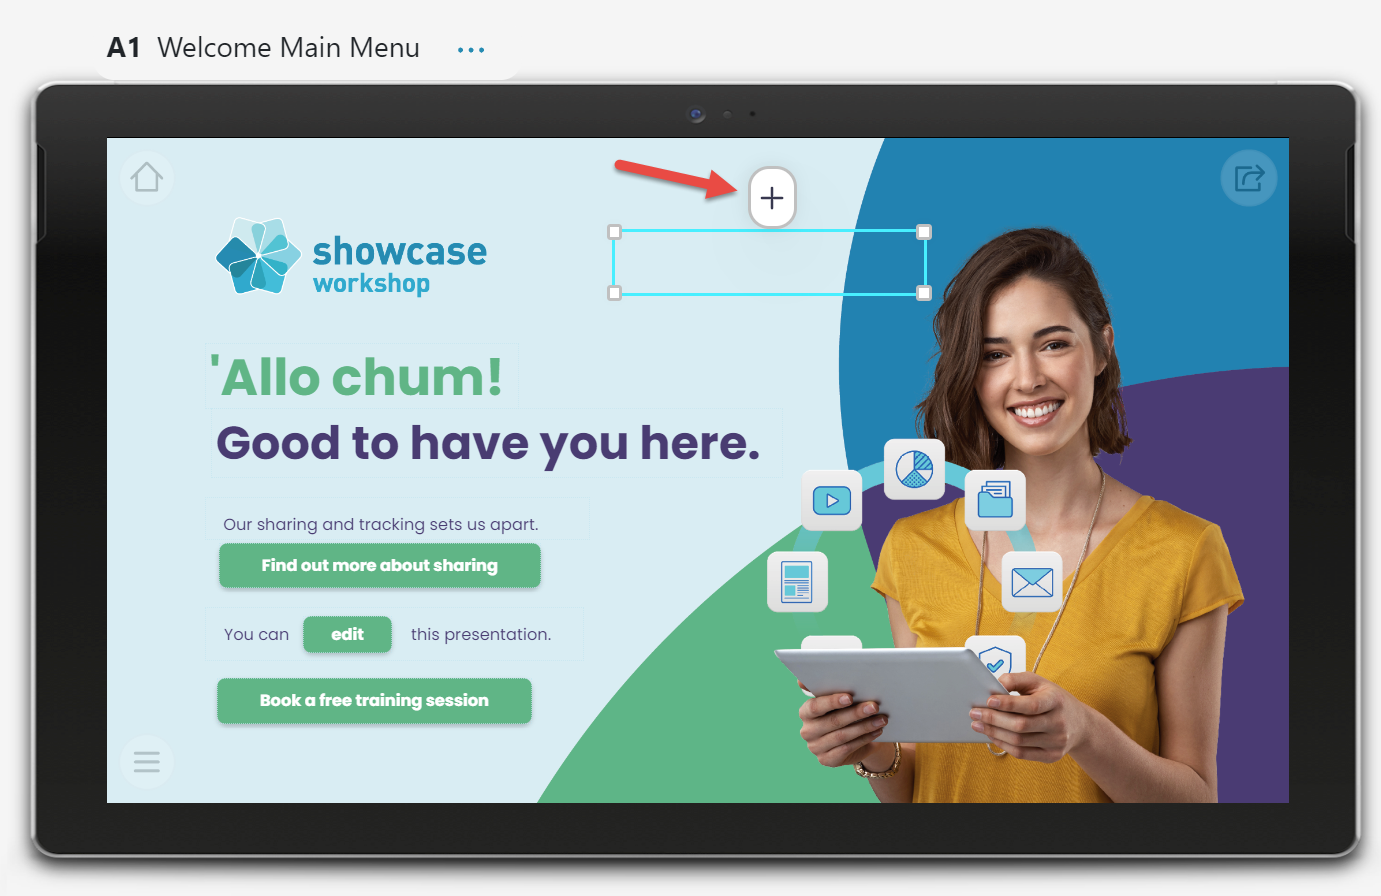
Take a look at the screenshot below. See the lightly dotted lines around the menu items (and one transparent one beside the title)? Those are the hotspots. The lines are only visible from the Editor, not when someone views the presentation.
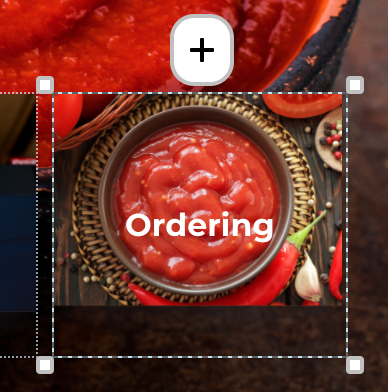
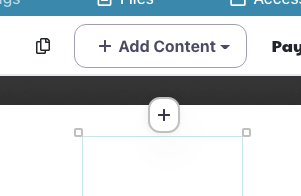
When you first create a hotspot, it is selected by default. A selected hotspot shows the content flyout at the top, and 'drag handles' on the corners. A hotspot needs to be in a selected state in order for you to move it, resize it, or add content.
Move, reposition, and resize a hotspot
When a hotspot is in a selected state you can:
- Move the hotspot by clicking inside the area and dragging.
- You can also nudge the hotspot using the arrow keys on your keyboard. The default nudge size is 10px. Hold the Shift key while nudging to make it a smaller nudge of 1px.
- Resize the hotspot by clicking any of the drag handles and dragging them out to the desired size.
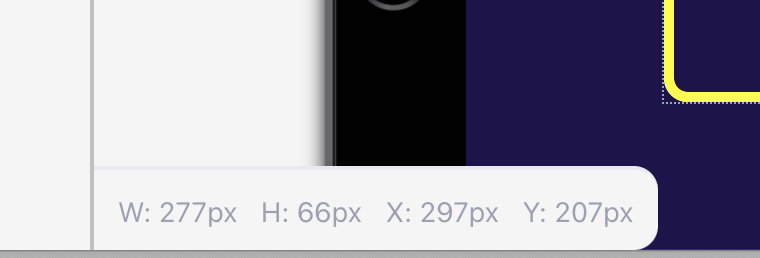
As you nudge and resize, information about the size and position of the hotspot will display bottom left.
Linking a hotspot to content
When you first click "Add Hotspot" from the white toolbar, you have the option of selecting content for the hotspot to link to then and there by clicking the plus button hovering above it.
You can add several different types of content to hotspots:
- New image slides — these might be individual slides, which you then turn into another menu full of content; or you can add multiple images, to create a swipeable slideshow or gallery. Common image formats are PNG and JPG — if you want these to fill the screen exactly, they'll have to match the dimensions of the presentation
- Existing slide
- Video (mov, mp4, m4v, avi, wmv, flv, mpg, or mpeg)
- Documents (.pdf, .docx, .xlsx, .pptx)
- URLs (website addresses)
Or you can leave it 'blank' which means no content will be linked.
If you do make a blank hotspot, you have the option of linking content later by clicking the '+' plus icon in the floating square above the hotspot. Or, you can click the 'Add Content' button from the toolbar. Both will pop a content selection menu, exactly the same as when creating a hotspot.
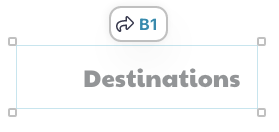
Any hotspot that has had content added previously will show a filetype or slide reference icon above it; but you can still click these icons to remove or replace the linked content.
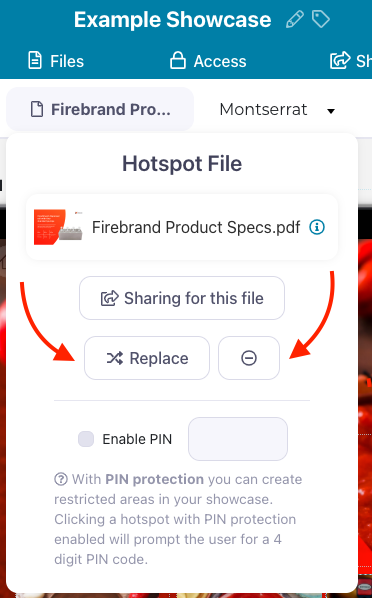
New Image Slide(s), Video, or Document
Selecting any of these as the content you want linked to your hotspot will pop the File Library so you can pick the image(s), video or document file in question. You may need to upload the file(s), if it's not already in the File Library. The File Library will pre-filter your view to show only the content type you've selected.
Once you've added the content to your hotspot, the icon above the hotspot will change as well to reflect the linked content type.
If you're adding image slides, or a new blank slide, you can continue adding even more hotspots on those slides, so that they function like a menu.
Adding multiple image slides at once means you're effectively creating a slideshow within your presentation.
New Blank Slide
Any new slides you add will get their own slide reference. You can then visit the new slide you've added by clicking the blue text above the hotspot ('B1' in this example) — or change the link again by clicking the arrow icon. Because you don't need to pick a file for this one, you won't see the file library before the hotspot is created.
Existing Slide
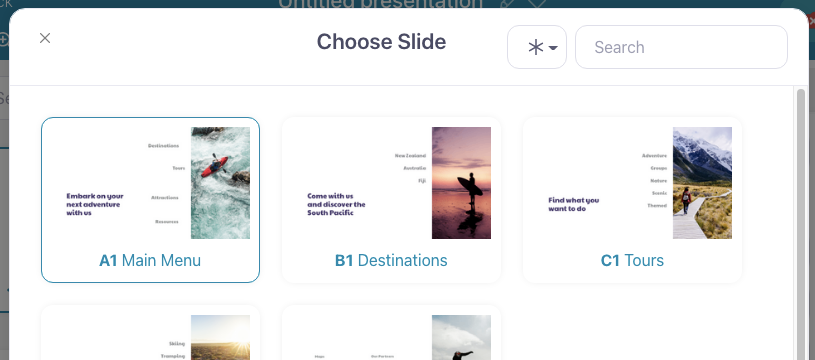
Choosing this option from the 'Add Hotspot' or 'Add Content' menus will pop a dialog that shows you all of the existing slides in the presentation. This way, if you have a slide full of content that is referenced regularly — a video library for example — you can create it once as an image slide, then link to it in multiple places from this 'Existing Slides' option. Just another way we're better than PowerPoint!
URL
You can make a hotspot link directly to some other webpage. Choosing 'URL' from the content selection menus will pop a simple text box for you to enter the web address into.
Linking to URLs that aren't websites
Email addresses
You can link to an email address in a way that prompts a mail client (such as Outlook or the iPad 'Mail' app) to open.
To do this, put 'mailto:' before the address in the URL field (no spaces or capitals, please!). So if the email address is peter@rabbitfamily.com, then you'd put 'mailto:peter@rabbitfamily.com' in the URL field.
Phone numbers
You can use 'sms:' and 'tel:' in the same fashion before phone numbers, but be aware this will only work when viewing the presentation on phones!
Links to other apps
You can also get a URL to trigger another app installed on the device opening. We have another article about this practice specifically.
HTML content
If you're feeling advanced, you can also add HTML5 content to a hotspot. More details are here.
Styling Hotspots
If your slide background images have been fully designed to include hotspot elements, you can leave your hotspots transparent. However, if you want to add text or style them, there are a range of options for controlling the appearance directly within Showcase. Those options appear along the white toolbar when you have a hotspot selected and we have another article describing these options in detail.
Delete a hotspot
- Select the hotspot you wish to delete and click the trash icon in the style toolbar. If you're in a hurry, select the hotspot and hit the 'delete' or 'backspace' key on your keyboard!
- Click 'OK' when the dialog box pops up asking if you're sure you want to delete the hotspot.
Important note: Deleting a hotspot also removes any linked content attached to it. So, if your hotspot links to a video or a file, deleting it will remove this content from your presentation. It won't remove any linked slides, and you can still find the removed files in the File Library if you need to link or add them elsewhere.

