If some of your content is on a "need to know" basis, you can restrict access to specific parts of your presentation by PIN protecting your hotspots.
This is a great way to add an extra layer of protection for content that is not designed for customers' eyes. It's also a simple way to restrict access to a certain subset of users if you don't want to create groups and manage access for multiple presentations.
To set up PIN Protect:
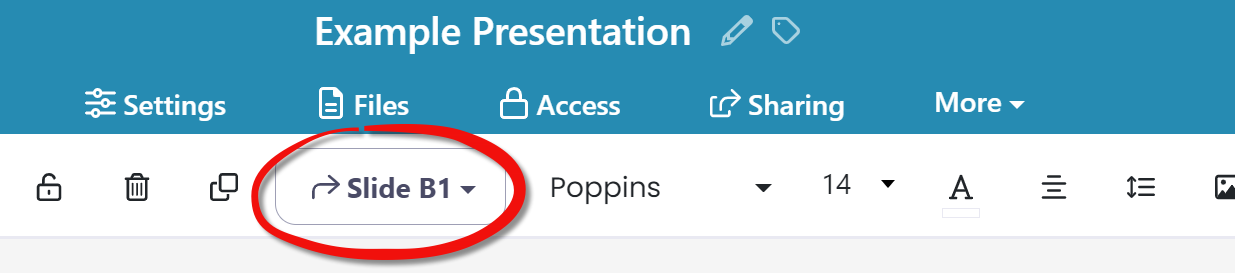
Select the hotspot you want to restrict and click the hotspot link dropdown menu (otherwise known as the 'Add content' dropdown) in the toolbar above your presentation.
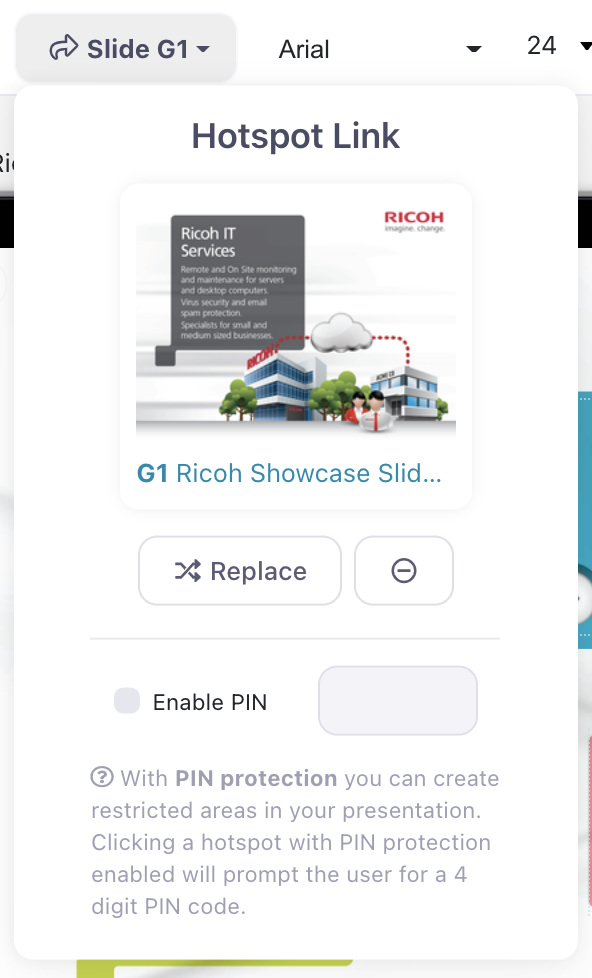
Check the box next to 'Enable PIN' and choose a secure 4-digit PIN.
Note: We're sure you know the drill by now, but we highly recommend choosing something more secure than '1234'. You can assign a different PIN to every hotspot if you like, but we suggest keeping the PIN universal to all restricted hotspots so it's not too confusing or cumbersome for your users.
Be sure to publish your presentation for the PIN to take effect!
Share the PIN with any users that should have access to the content.