If you've recently updated a file or background image, you can replace it with a few clicks.
Note: If the file appears in multiple presentations, you may want to use the 'Replace All Usages' feature instead. You're welcome.
To replace files in a single presentation:
Open the web app and find the presentation you want to update.
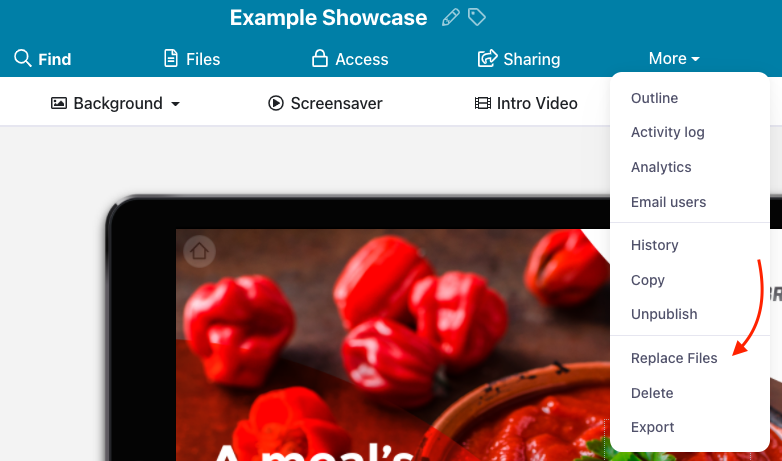
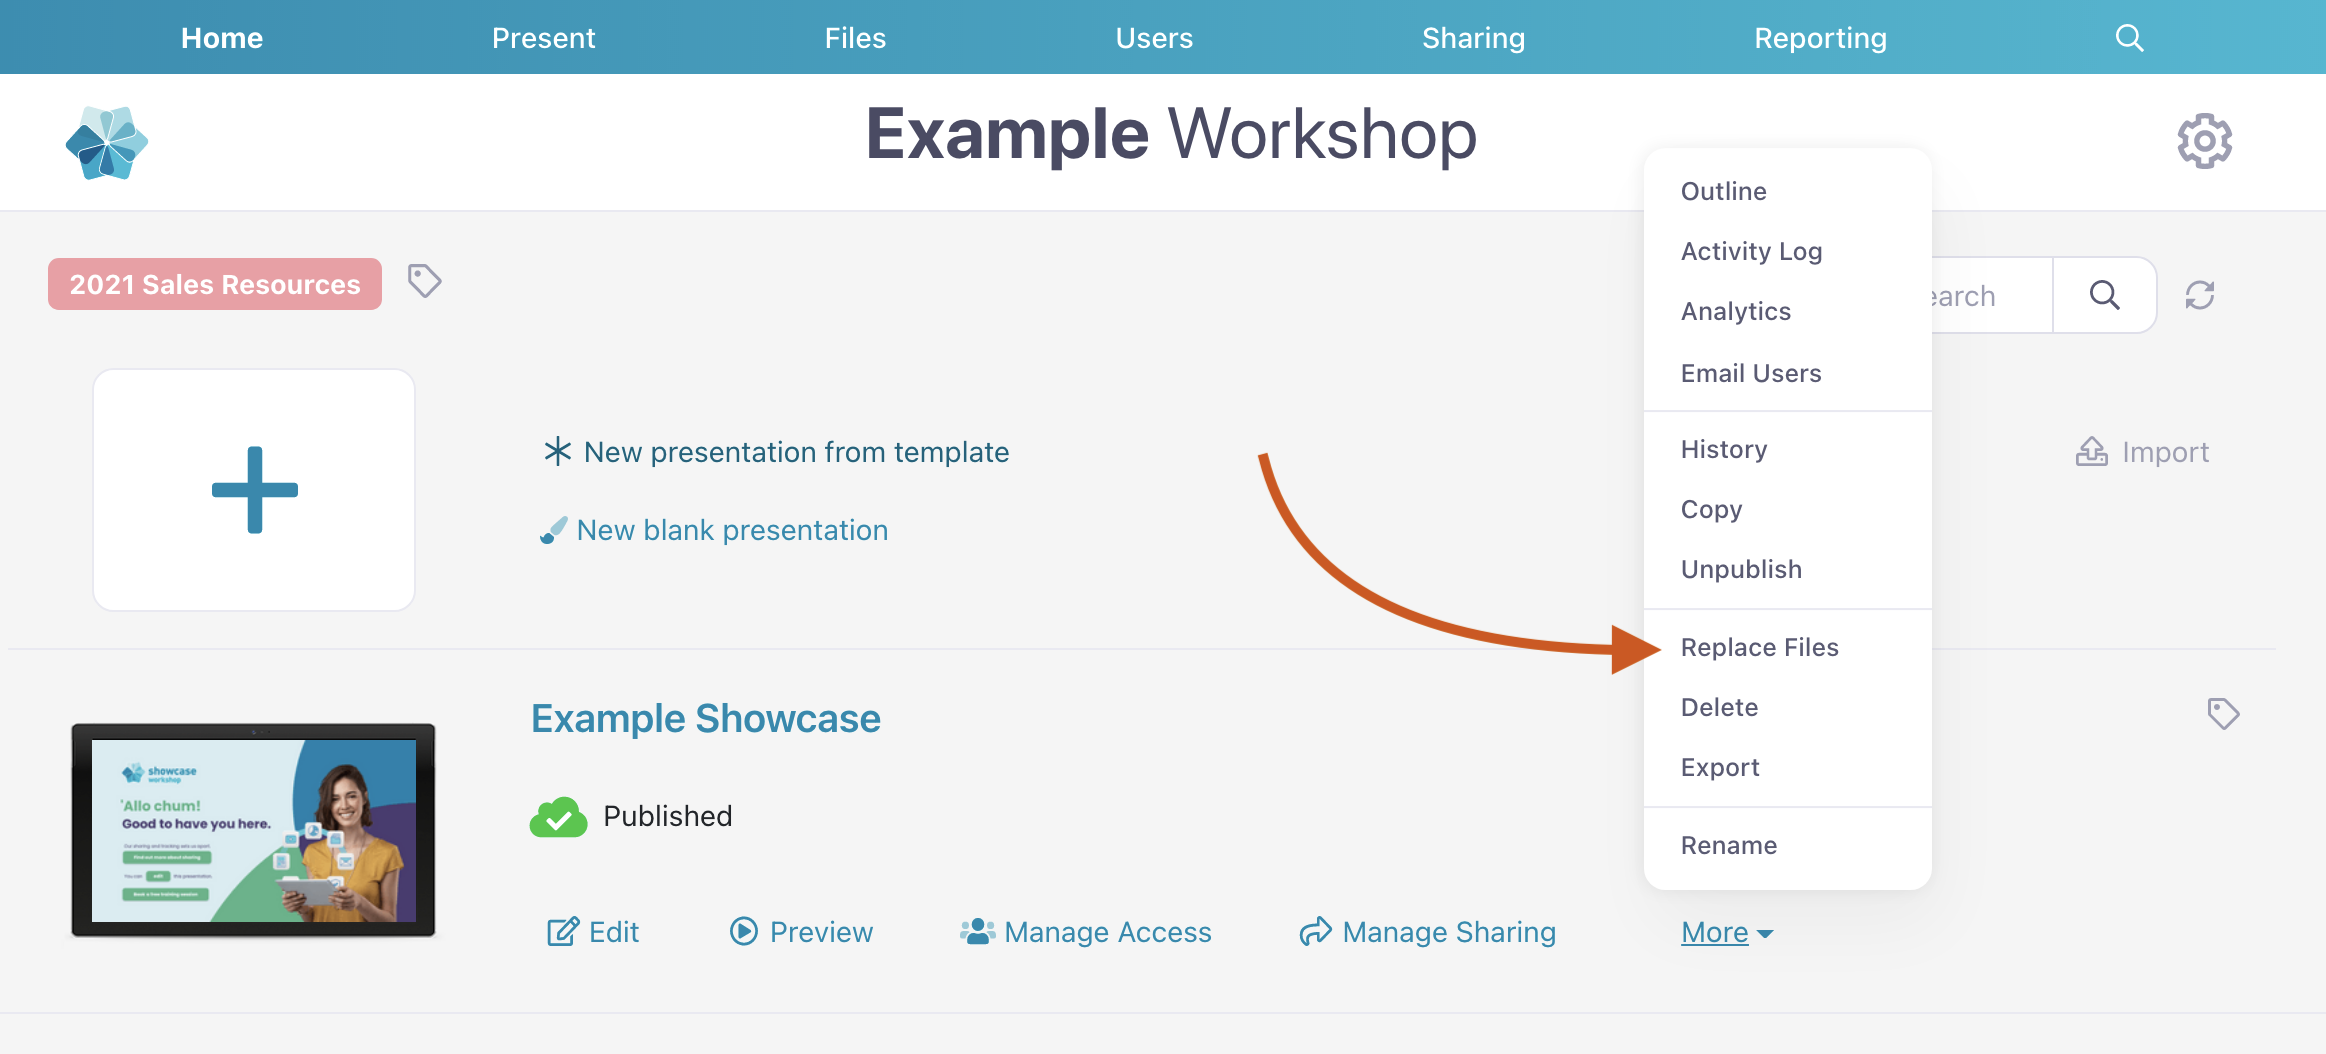
Click ‘More’ under the presentation details and select 'Replace Files'.
Alternatively, you can open the presentation Editor and click 'More' in the top toolbar. There's an option to 'Replace Files' there too.
This will open a list of files in that presentation. Find the file you want to replace (you can use the 'Search' bar at the top if you have lots of files) and click the 'Replace' button next to it.
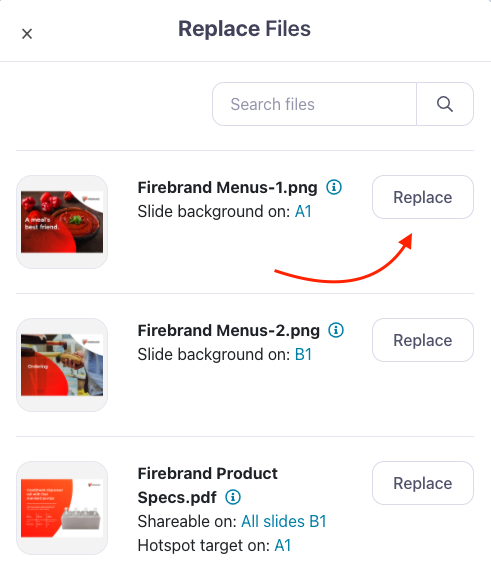
This will open the File Library where you can select an existing file or upload a new one. When you're ready, hit 'Choose Selected' to replace the file.
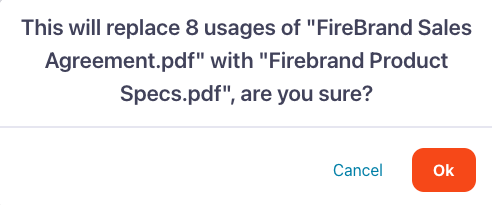
You'll see one last pop-up asking you to confirm you want to replace the file. If you're sure, click 'Ok' and the system will work its magic on your content.
Make sure you publish your presentation so your changes take effect for all users!
fiel