With this optional setting, you can add a video file to your presentation to play after a timeout period of your choosing (1, 2, 5, 10, or 15 minutes).
This means that if a user has the presentation open on their device and nobody touches the screen during your timeout period, the video will start playing automatically. As soon as someone touches the screen, the video will stop and the presentation will be displayed again.
This is a fantastic option for trade shows and conferences as your sales reps won't have to worry about a boring, static screen if people aren't actively using the device.
Note: This setting is currently available on the Showcase Website, in the Showcase Mac app, and in Showcase for iOS.
To set up a screensaver video:
Sign in to the web app and open your presentation in the Editor.
Click Settings in the toolbar at the top of the screen.

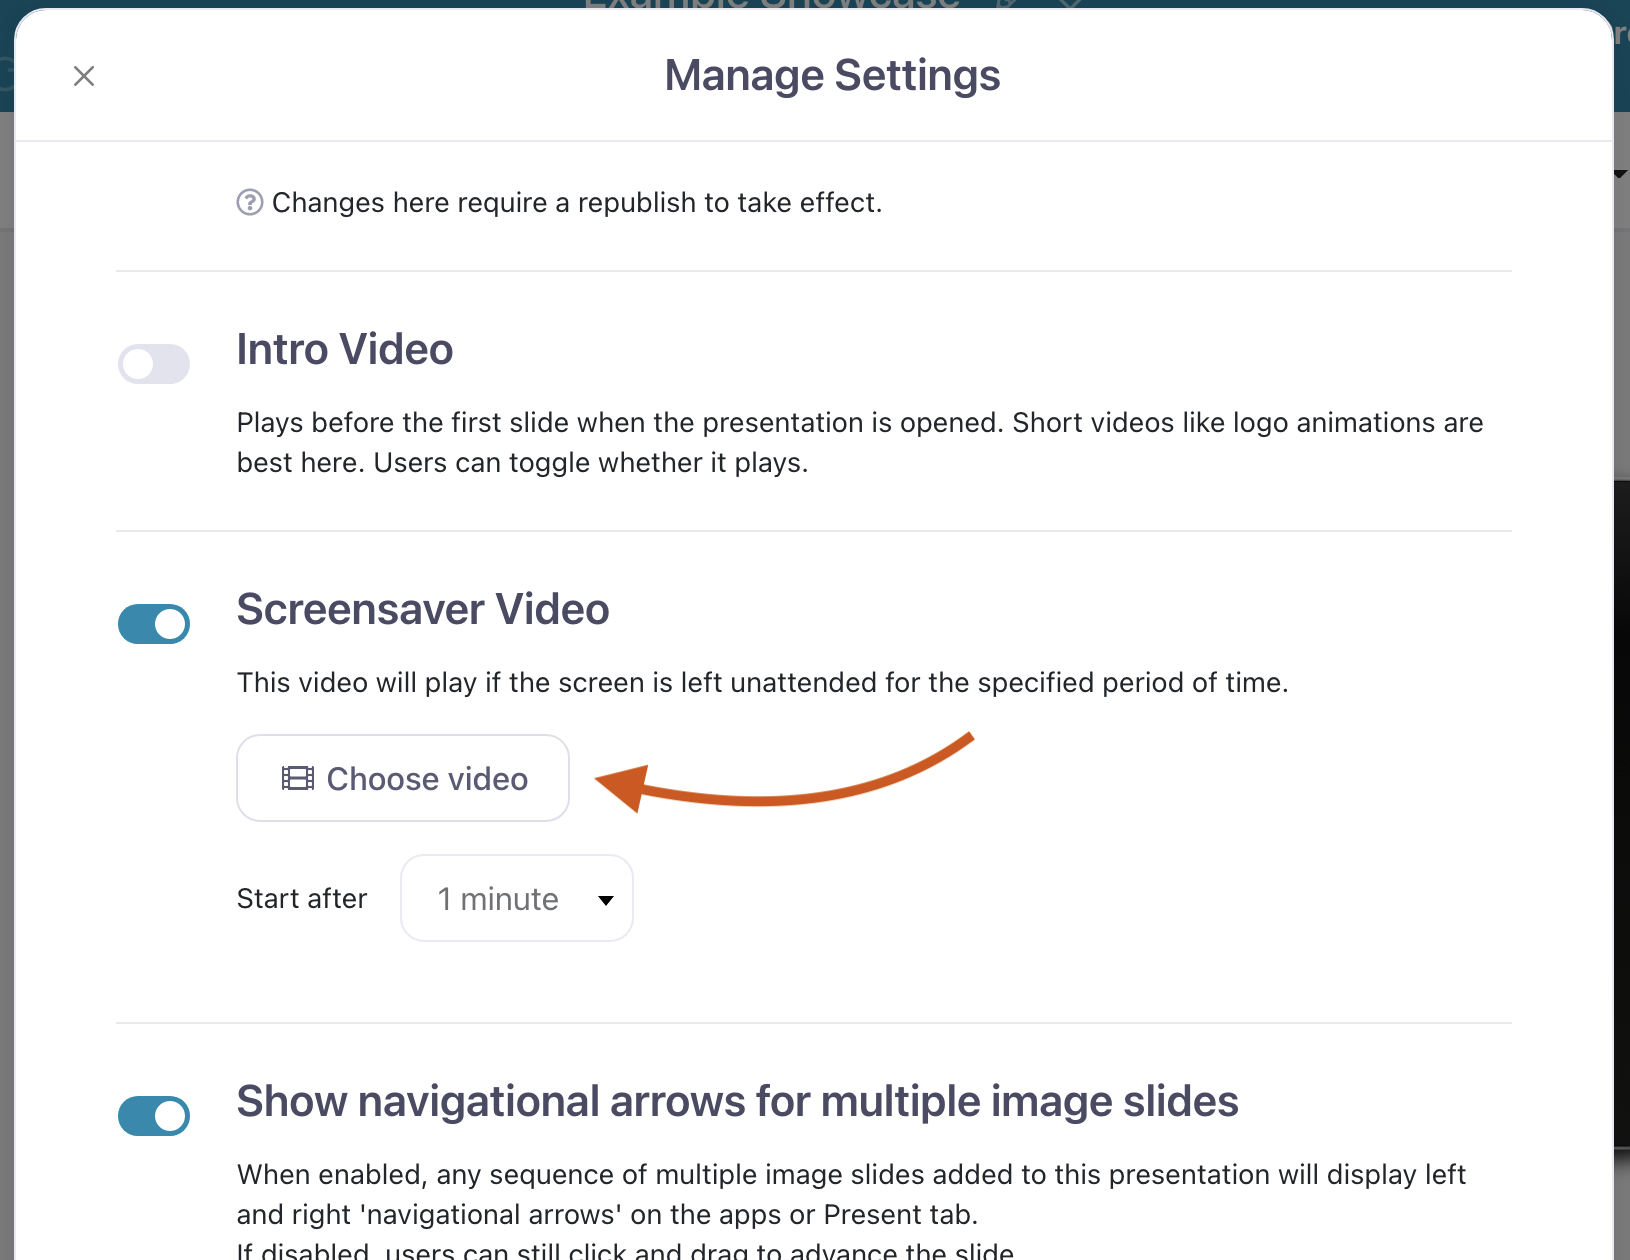
This will open the Manage Settings dialog. Toggle the button next to Screensaver Video to enable this setting.
Click the Choose Video button to open the File Library.
Note: You'll notice the 'Start after' option is greyed out — don't worry about this yet, as we'll set it after you've uploaded a video.
Choose an existing file or upload a new one to use as a screensaver. Don't be alarmed if you can't see all your files in the File Library — the system will automatically filter your files so that only videos show. Your other file types are still there! Once you've chosen your file, click 'Choose selected'.
You can now choose when you want your video to start playing. Click the drop-down box next to 'Start after' and choose whether you want it to start after 1, 2, 5, 10, or 15 minutes of inactivity.
As usual, don't forget to publish your presentation so the changes take effect!