
Groups are extremely useful for managing and sorting your workshop's Viewer users. For example, you could sort users into regional sales teams or departments and manage their access so they only see presentations relevant to their work.
You can also see analytics by group, so even if you haven't limited access to different presentations within your workshop, you can still see how different teams are performing.
Here's how to create your first group:
- Open the web app and click the 'Users' tab in the toolbar at the top of the page.
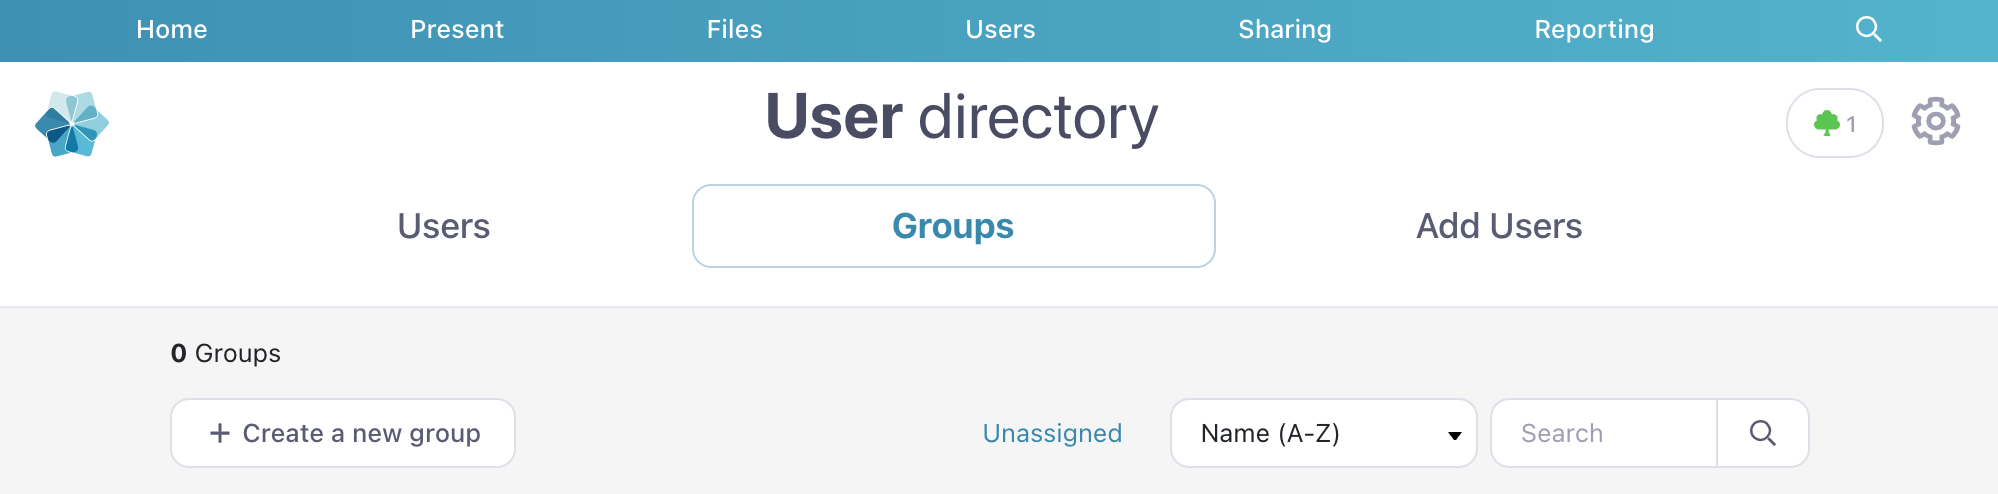
- In the 'User Directory', select the 'Groups' tab.
- Click the ‘Create a new group' button.
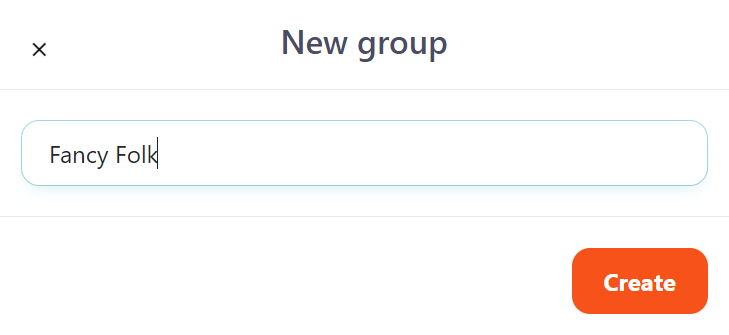
- Enter a name for your group in the pop-up box and click ‘Create’.
- Your group will appear in the list automatically. You might like to think about adding some users to the new group as a next step.
You can make as many groups as you like, and add users to more than one group to fit your needs. Go nuts!